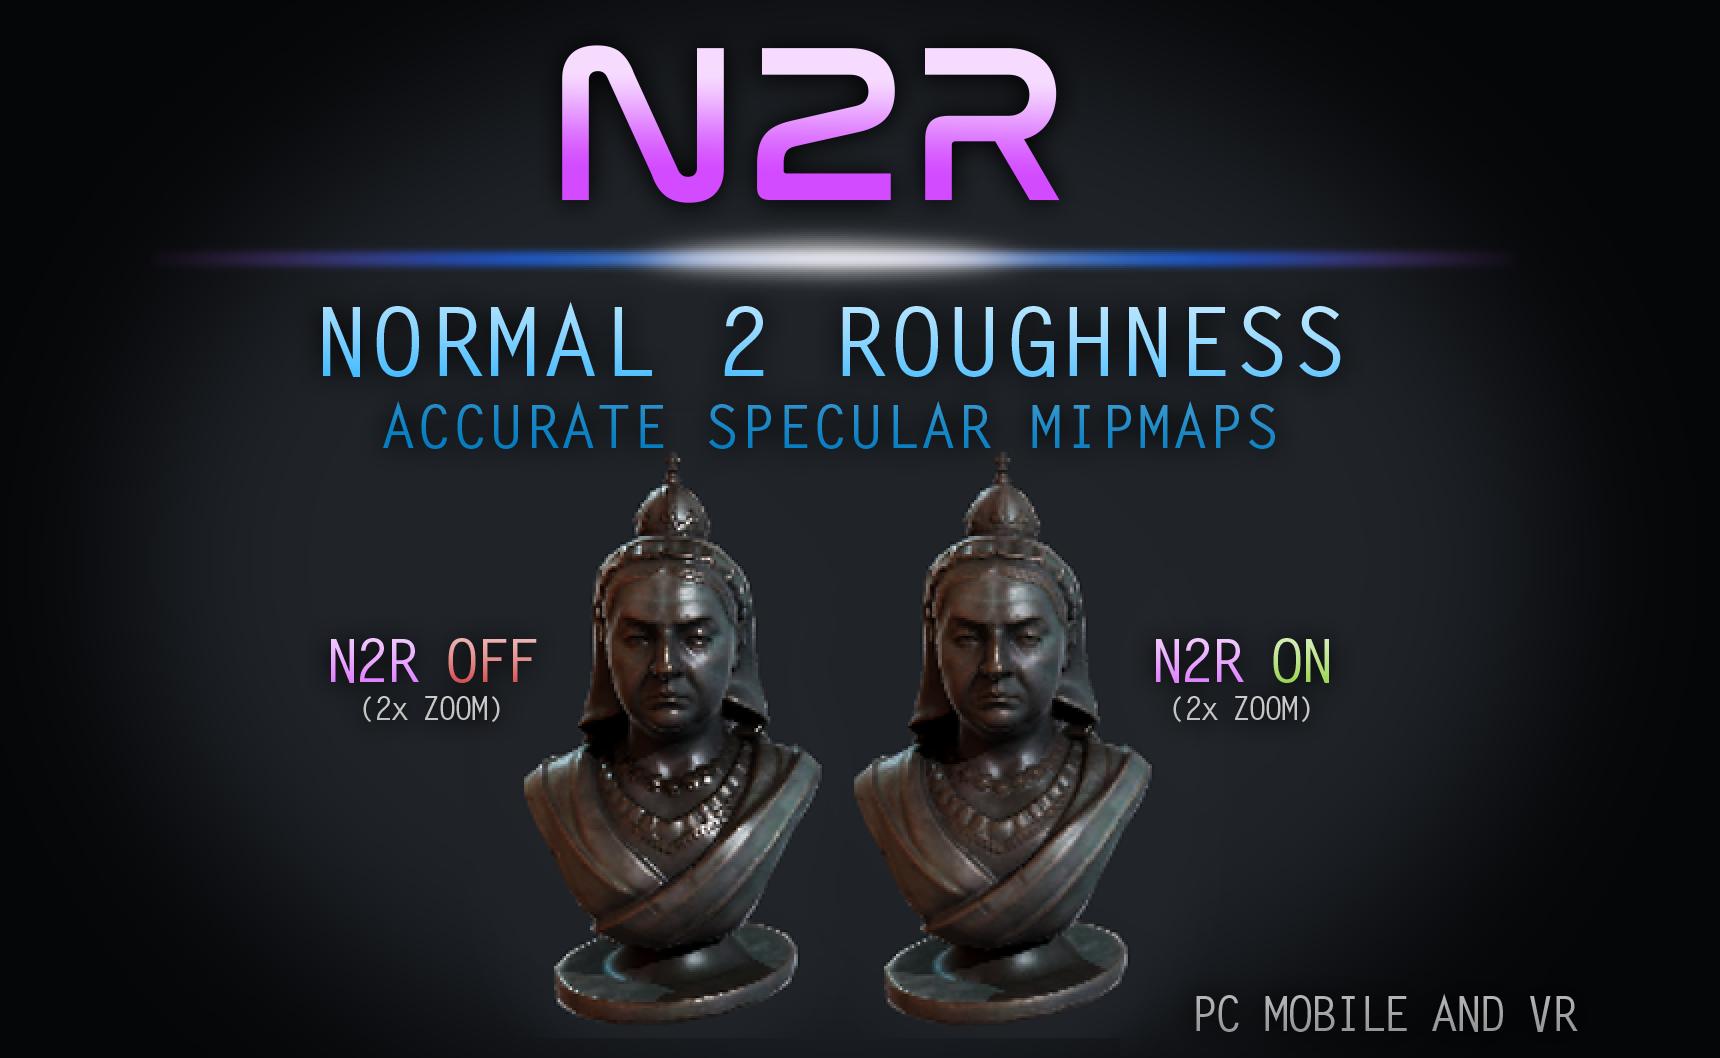
Have you ever noticed that some materials and assets in Unity look inaccurate at a distance? Detailed or metallic objects get “sparkly” and lose their cinematic quality. This is specular aliasing caused by the mipmapping process. Normal to Roughness Tool fixes this problem at the source without the need for costly supersampling or custom shaders.
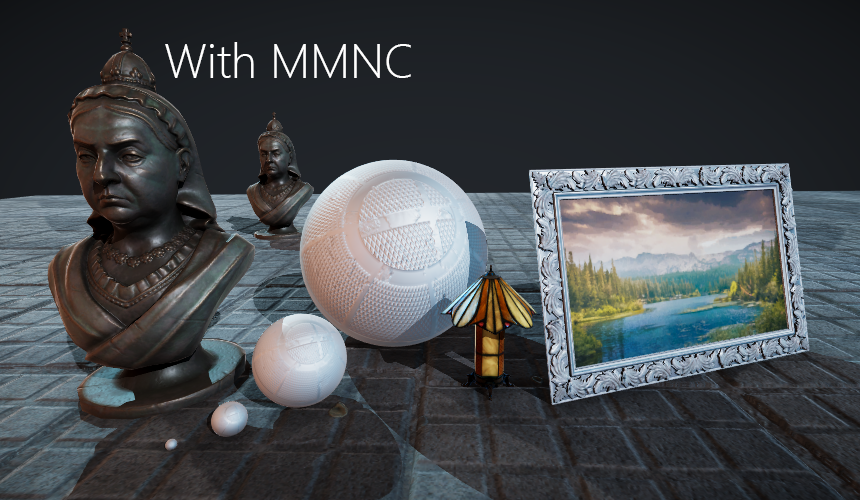
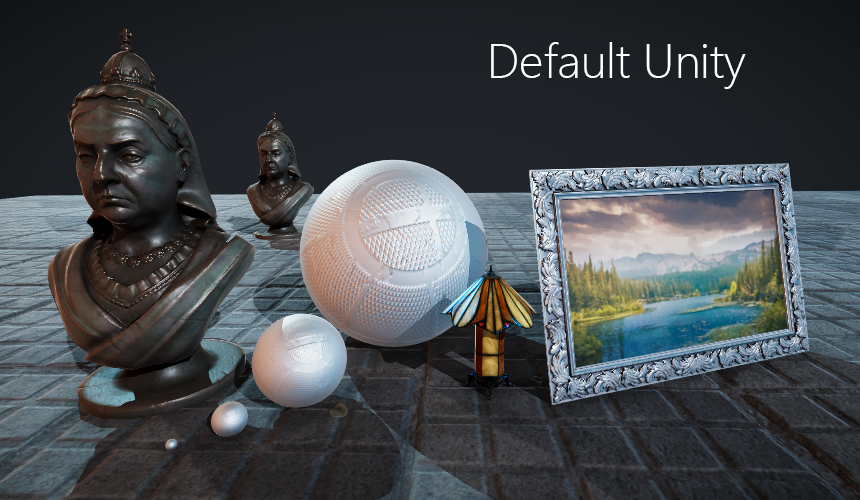
Example - Tool vs Default
Features:
- Drag and drop materials to convert them
- Zero performance cost.
- Adjustable Stength modifier
- Ideal for improving VR image quality
How it works
Each mip level of a normal map in Unity is a downscaled version of the original. One downside of this downscaling is that the “bumps” in the surface get averaged out and smoothed together. Normal to Roughness tool restores this discarded information by turning the normals into roughness information and adding it to the roughness map.
Manual
Requirements
- Unity 2017 or above
Basic Use
Access the N2R composite texture manager from “Window > Normal To Roughness”
Creating N2R Composite from material
Drag a Standard material onto into the “Import Material Field” in the manager and click “create composite”.
Creating N2R Composite from textures
Drag a texture that contains your roughness / specular information onto the R-Map field and your normal texture onto the N-Map field. Select a blending mode and click create composite.
Changing the intensity of the effect
Changing the power increases the intensity of the effect. You can force a stronger reduction in specular artefacts by increasing this value.